Automate And Enhance Your Workflow With Gulp Part 1
Gulp is a streaming build system, by using node's streams file manipulation is all done in memory, and a file isn’t written until you tell it to do so. In short, Gulp is a task runner which uses Node.js.
Much like Grunt, Gulp is a javascript task runner. Gulp however prefers code over configuration. Being that your tasks are written in code, gulp feels more like a build framework, giving you the tools to create tasks that fit your specific needs.
Enough theory — let's start using Gulp.
Step 1: Installing Node.js
You need to have Node.js (Node) installed onto your computer before you can install Gulp. Node.js can be downloaded for Windows, Mac and Linux at nodejs.org/download/. Once your download completes, run that application and you should be all ready to go.
Once installed, open a command prompt and enter:
Step 2: Installing Gulp
Now, let's meet npm and install Gulp. npm is a package manager for Node that will enable you to install additional modules for use in your projects from the command line.
We can now install Gulp using npm, jump back to your command-line application and type:
Verify that Gulp has installed the following command:
Step 3: Navigate To Your Project Directory And Install Gulp Locally
Now that we have met our command-line interface and know how to communicate with it, our next step will be navigating to your project directory. This will likely be different for each person, but as an example this is what I would type to navigate to my local project:

Once the package.json file is created, we can install Gulp locally into the project by using the following command:
If you check the project folder when the command has finished executing, you should see that Gulp has created a node_modules folder. You should also see a gulp folder within node_modules as shown below.

We're almost ready to start working with Gulp. Before we do so, we have to be clear on how we're going to use Gulp for the project, and part of that is deciding on a directory structure.
Next tutorial(Part 2), we will go through Directory Structure for the project and write the first GULP task.
Reference: https://css-tricks.com/gulp-for-beginners/
Automate Your Tasks Easily with Gulp.js
Getting Started with Gulp
Much like Grunt, Gulp is a javascript task runner. Gulp however prefers code over configuration. Being that your tasks are written in code, gulp feels more like a build framework, giving you the tools to create tasks that fit your specific needs.
Enough theory — let's start using Gulp.
Step 1: Installing Node.js
You need to have Node.js (Node) installed onto your computer before you can install Gulp. Node.js can be downloaded for Windows, Mac and Linux at nodejs.org/download/. Once your download completes, run that application and you should be all ready to go.
Once installed, open a command prompt and enter:
node -vAgain, this should return the version number on the next line. Now, let's do the same for npm.
npm -vAgain, this should return the version number on the next line. If you didn't get a response, then it may mean that Node didn’t install correctly or you may need to restart your command line application.
Step 2: Installing Gulp
Now, let's meet npm and install Gulp. npm is a package manager for Node that will enable you to install additional modules for use in your projects from the command line.
We can now install Gulp using npm, jump back to your command-line application and type:
$ npm install -g gulpThe npm install command we've used here is a command that uses Node Package Manager (npm) to install Gulp onto your computer. We'have add a -g flag to ensure Gulp is available globally for any project.
Verify that Gulp has installed the following command:
gulp -vLike before, this should return the version number on the next line of your command-line.
Step 3: Navigate To Your Project Directory And Install Gulp Locally
Now that we have met our command-line interface and know how to communicate with it, our next step will be navigating to your project directory. This will likely be different for each person, but as an example this is what I would type to navigate to my local project:
Anup:~ anup$ cd /Applications/MAMP/htdocs/my-projectOnce you have made it to your project directory - let's run a quick npm command to initialize our package.json file.
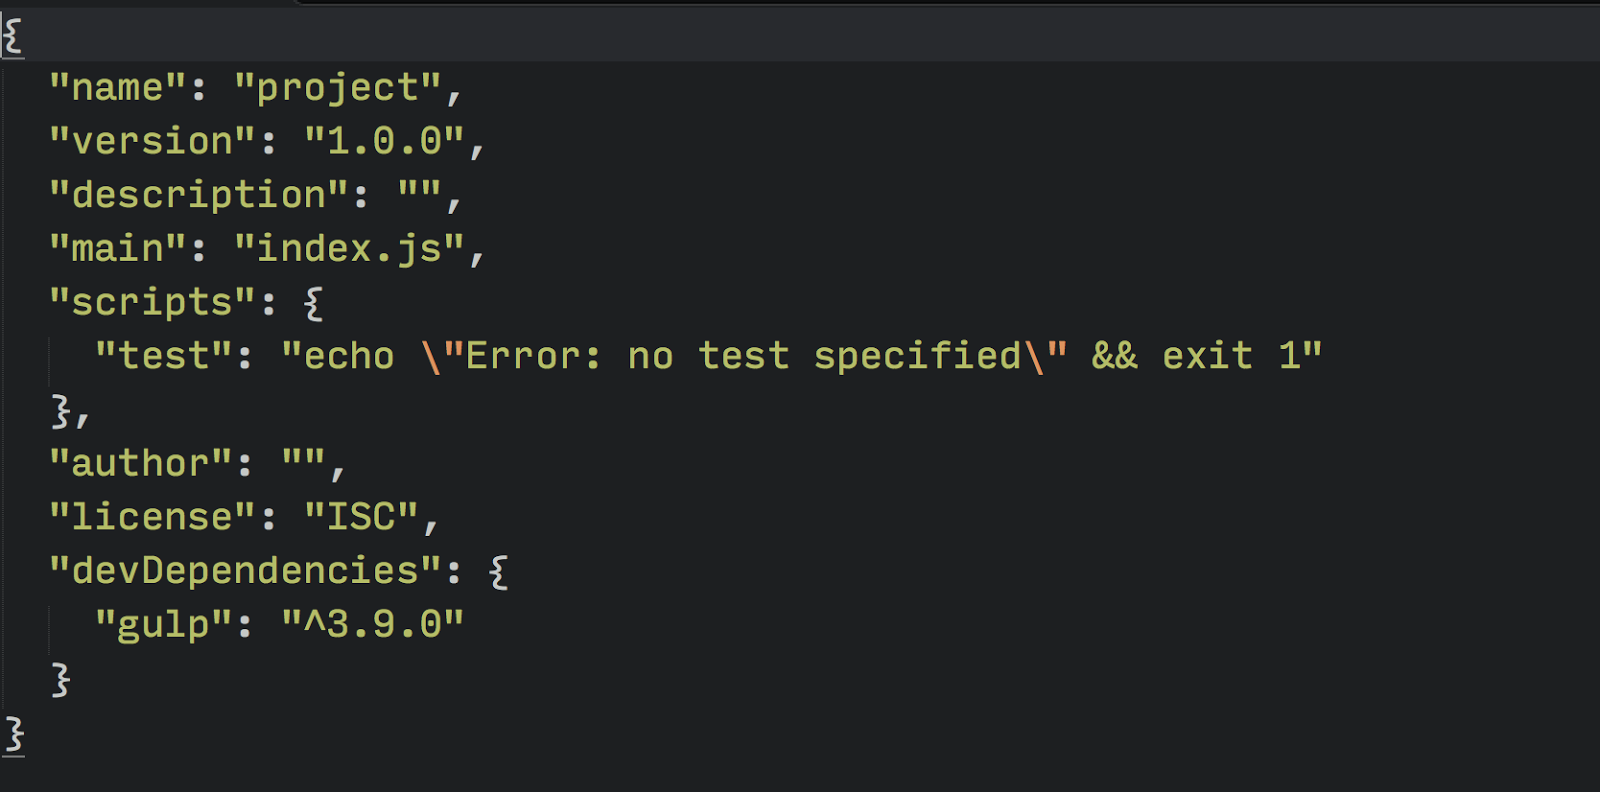
Anup:my-project anup$ npm initThis will prompt us to answer a few questions about our project. Once completed, it will create a file in the root directory of the project called package.json which will provide information about the project and its dependencies as shown in figure below:.
Once the package.json file is created, we can install Gulp locally into the project by using the following command:
Anup:my-project anup$ npm install gulp --save-devWe've added --save-dev, which tells the computer to add gulp as a dev dependency in package.json as shown below.
If you check the project folder when the command has finished executing, you should see that Gulp has created a node_modules folder. You should also see a gulp folder within node_modules as shown below.
We're almost ready to start working with Gulp. Before we do so, we have to be clear on how we're going to use Gulp for the project, and part of that is deciding on a directory structure.
Next tutorial(Part 2), we will go through Directory Structure for the project and write the first GULP task.
Reference: https://css-tricks.com/gulp-for-beginners/
Automate Your Tasks Easily with Gulp.js
Getting Started with Gulp

Comments
Post a Comment